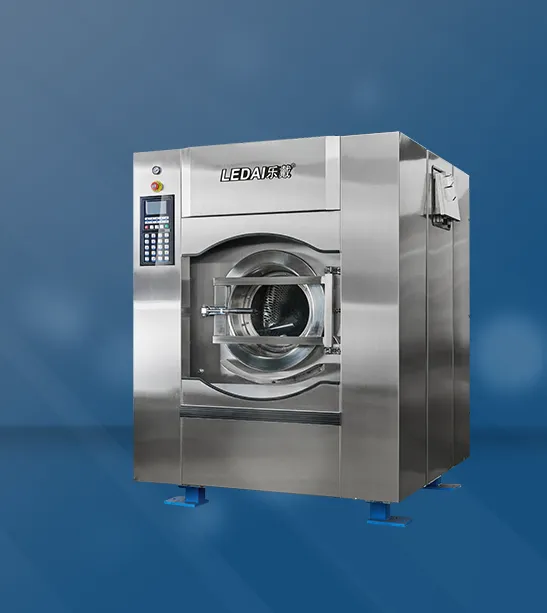
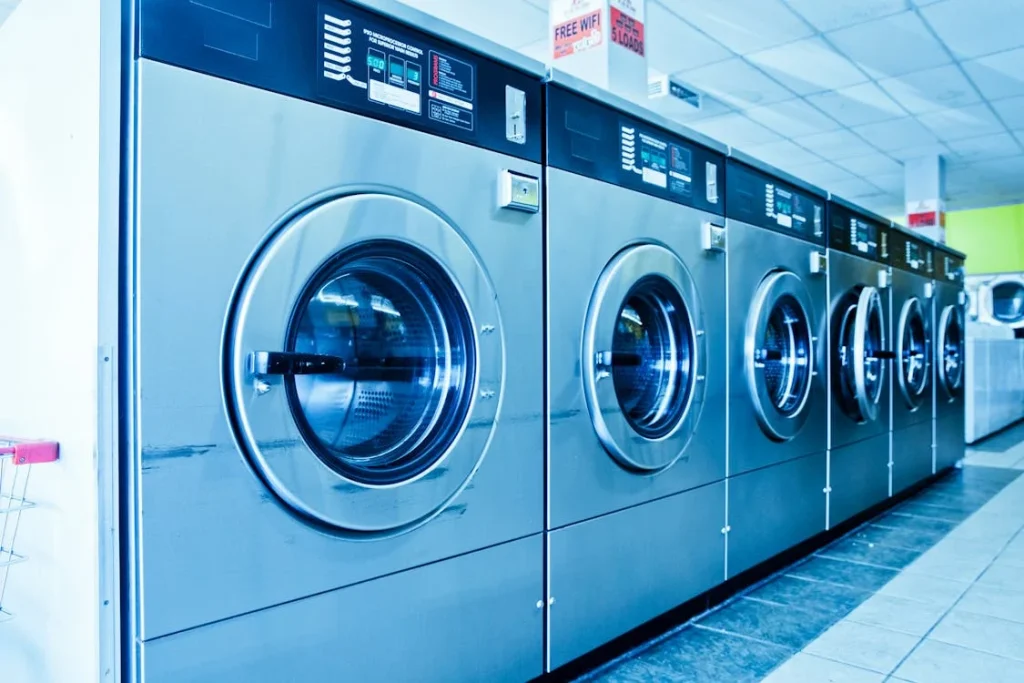
Installing an industrial washing machine is not a task that should be taken lightly. The proper setup of your washing machine ensures that it works efficiently, reduces the chances of malfunction, and keeps your laundry operations running smoothly. This guide will walk you through every step of the installation process, making it easy for you to get your new machine up and running quickly.
Table of Contents
- 1. Step 1: Prepare Your Space
- 2. Step 2: Gather Necessary Tools and Equipment
- 3. Step 3: Positioning the Washing Machine
- 4. Step 4: Connecting the Plumbing
- 5. Step 5: Connecting the Electrical System
- 6. Step 6: Leveling the Machine
- 7. Step 7: Final Checks and Testing
- 8. Step 8: Ongoing Maintenance Tips
- 9. Conclusion: Get Started with Confidence
- 10. FAQs
1. Step 1: Prepare Your Space

Before you begin installing your industrial washing machine, it’s important to choose the right space. A well-planned installation will prevent headaches down the line.
1.1. Choosing the Right Location
Pick a spot with easy access to water and drainage systems. Ideally, the area should also allow for ample space around the machine for maintenance and future servicing. Consider the noise level in the space—industrial machines can be loud, so it’s best to keep them in an isolated area if possible.
1.2. Measuring the Area
Once you’ve picked the location, grab a tape measure. The dimensions of the washing machine will tell you how much room you need. Account for clearance on the sides and top for ventilation and servicing.
2. Step 2: Gather Necessary Tools and Equipment

You don’t want to get halfway through the installation and realize you’re missing a crucial tool. Let’s make sure you’re ready.
2.1. Essential Tools for Installation
Most industrial washing machine installations require basic tools like wrenches, pliers, and screwdrivers. You may also need specific tools, depending on the machine’s model and requirements.
2.2. Safety Gear
Don’t skip safety! Wear gloves and safety glasses to protect your hands and eyes during the installation process.
3. Step 3: Positioning the Washing Machine
Now that your space is ready, it’s time to get the machine into place.
3.1. Lifting and Moving the Machine
Industrial washing machines can be heavy. If you have help, lift the machine carefully, using your legs and not your back to avoid injury.
3.2. Using a Dolly for Easier Movement
A dolly (or hand truck) is invaluable for moving the washing machine. If you don’t have one, you can rent one or use a sturdy trolley.
3.3. Ensuring Correct Alignment
Once the washing machine is in place, check its alignment. It should be flush against the wall, with no tilting. Use a level tool to ensure the machine is sitting evenly.
4. Step 4: Connecting the Plumbing
A major part of the installation involves connecting the water supply and drainage systems.
4.1. Water Supply Line Installation
You’ll need to attach the water inlet hoses to the washing machine. Ensure the connections are secure and tight. Don’t overtighten, as this can cause damage to the machine.
4.2. Drain Hose Setup
Next, install the drain hose. Most industrial washers come with a flexible drain hose that you’ll need to connect to the building’s drainage system.
4.3. Choosing the Right Drainage System
Make sure your drain system is suitable for the volume of water the machine will release. A high-capacity washer requires a larger drain pipe to prevent blockages.
4.4. Testing Water Flow
Once connected, turn on the water supply and check for leaks. A quick inspection now can save you from bigger problems later on.
5. Step 5: Connecting the Electrical System
Now that the plumbing is sorted, it’s time to deal with the electrical connections.
5.1. Understanding Electrical Requirements
Industrial washing machines usually run on high-voltage electricity. Be sure that the machine’s power requirements match the power supply in your facility.
5.2. Wiring the Machine Safely
Follow the manufacturer’s guidelines when wiring the machine. If you’re not comfortable handling electrical installations, it’s best to consult a professional electrician.
5.3. Grounding the Machine
It’s important to ground the washing machine to prevent electrical hazards. Most industrial washers have a grounding screw or plate that you’ll need to connect to the ground wire.
5.4. Double-Checking Electrical Connections
Once all connections are made, double-check the wiring to make sure everything is connected properly. Safety first!
6. Step 6: Leveling the Machine
A crucial step that is often overlooked is ensuring the washing machine is level.
6.1. Why Leveling Is Important
If the machine is not level, it could cause uneven wear, vibration, and even damage. It could also affect the machine’s performance, such as water distribution and spin cycles.
6.2. How to Level the Washing Machine
Use the leveling feet on the bottom of the machine to adjust it. A level tool will help you ensure that both sides are even.
7. Step 7: Final Checks and Testing
Before you start using your washing machine, it’s important to do a final round of checks.
7.1. Check for Leaks
Inspect the water connections again to ensure there are no leaks. Even small leaks can cause major problems down the line.
7.2. Test the Machine Functionality
Run a test cycle to make sure everything is working as expected. Pay attention to the water flow, drainage, and machine performance.
8. Step 8: Ongoing Maintenance Tips
Your work isn’t over after installation. Regular maintenance is crucial for the longevity of your industrial washing machine.
8.1. Routine Cleaning
Clean the lint filters and drum regularly. Also, ensure that there’s no buildup in the water supply hoses or drainage system.
8.2. Scheduled Inspections
Schedule annual inspections to check for wear and tear. Early detection of potential issues can save you from expensive repairs later.
9. Conclusion: Get Started with Confidence
By following these steps, you’re now ready to install your industrial washing machine with ease. Proper installation ensures a long lifespan for your machine and smooth laundry operations.
If you need help with installation or have questions about your machine, don’t hesitate to contact us for professional assistance!
10. FAQs
1. How long does the installation process take?
Installation typically takes a few hours, depending on the complexity of the setup and whether professional help is required.
2. Do I need a professional to install my industrial washing machine?
While it’s possible to do it yourself, hiring a professional ensures the installation is done safely and correctly.
3. What tools are required for the installation?
You will need basic tools like wrenches, screwdrivers, pliers, and safety gear such as gloves and glasses.
4. Can I install the machine in any space?
Not all spaces are suitable for industrial washers. Choose a space that allows for proper plumbing, electrical setup, and ventilation.
5. How do I maintain my washing machine after installation?
Routine cleaning, regular inspections, and checking for leaks will help keep your industrial washing machine in top condition.
Here are some other articles that we think might interest you:
Environmental Impact of Industrial Laundry


